
Zubehör nach Marke
Add additional functionality to your 3D printing or 3D scanning set-up with accessories designed to improve your 3D printing, 3D scanning and processing experience and streamline your workflow.
NK-Optik - Otoflash G171
Snapmaker 2.0 Enclosure
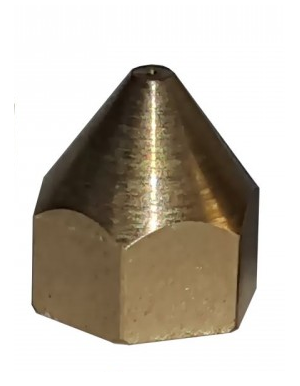
UP! Box V4 Düse
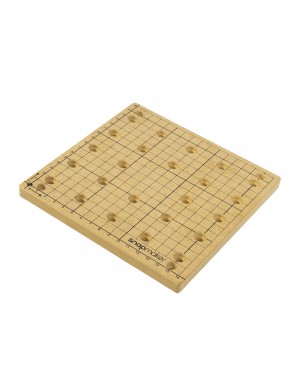
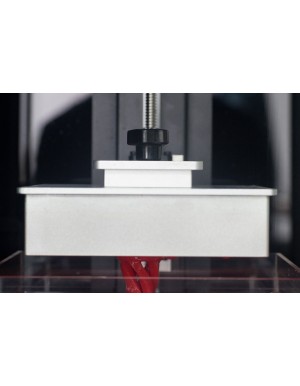
Moai Build Plate
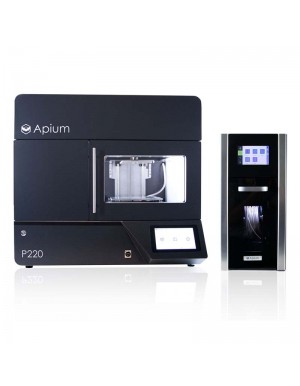
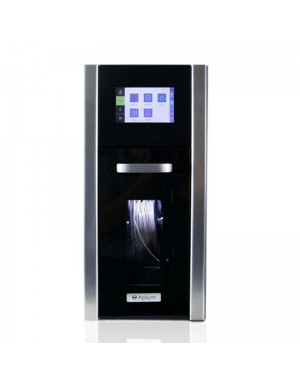
Apium Filament Dryer
It is a front loading module for easy access.
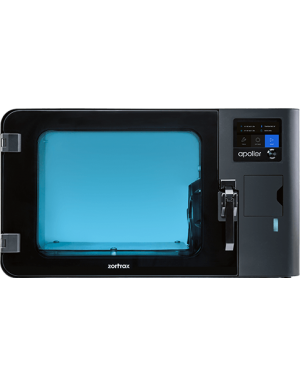
Zortrax Apoller Smart Vapour Smoothing
Automatic post-processing with the Zortrax desktop smart vapor smoothing device. Achieve the look of an injection moulded part from your FDM prints with the industrial performance. Smart Vapor Smoothing technology evenly smooths out all surfaces including all complex geometries and interlocking or movable parts. Ideal for small to medium production runs.
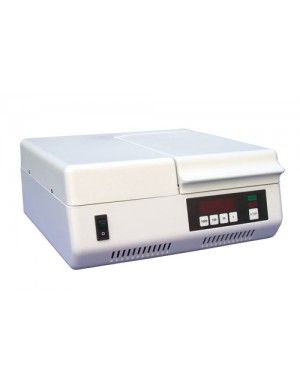
NK-Optik - Otoflash G171
The Otoflash G171 is designed for otoplastic/ hearing aids and jewelry as its application involves the photopolymerisation of light-curable substances. Curing also can be done on 3D printing/ rapid manufacturing components after they are made; for instance they allow the manufacturing and processing of various light curing materials and repairs who have the appropriate materials and lacquering for the Otoflash G171.
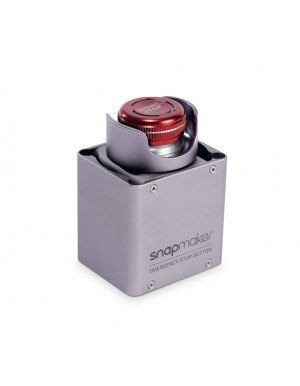
Snapmaker 2.0 Emergency Stop Button
The Snapmaker 2.0 Emergency Stop Button allows you to instantly halt the production process of the Rotary 2.0 module.
Available to ship early July
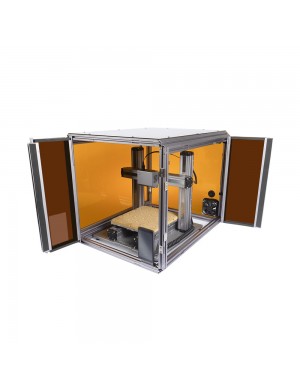
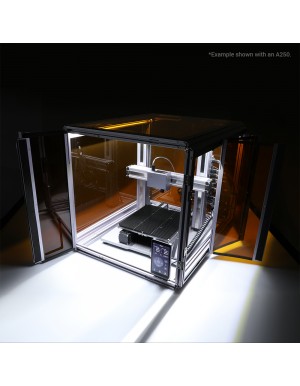
Snapmaker 2.0 Enclosure
Available in three sizes to match the Snapmaker 2.0 A150, A250 and A350, the new enclosure increases safety, reduces noise and improves ABS 3D printing. A highly recommended accessory for your Snapmaker 2.0.
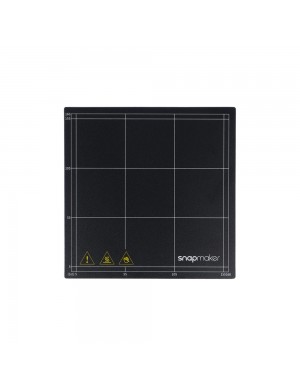
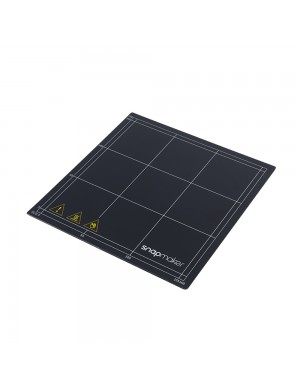
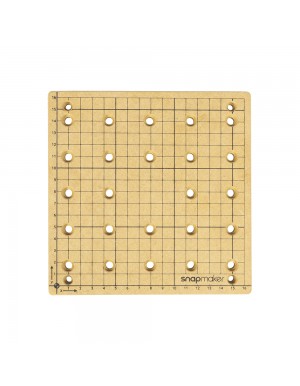
Snapmaker 2.0 Print Sheet
Adhesive-backed replacement print sheet for the Snapmaker 2.0. Choose the correct size for your machine.
One sheet per pack.
Snapmaker 2.0 CNC Platform (MDF Waste Board)
A replacement MDF wasteboard for the Snapmaker 2.0. Please choose the correct size for your machine.
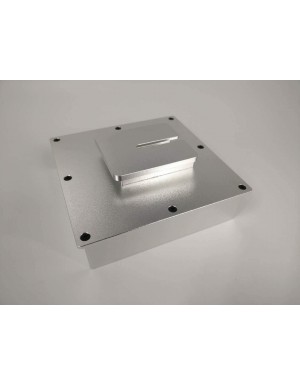
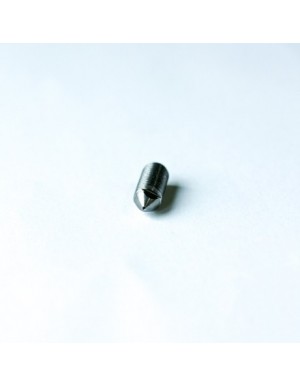
Moai Build Plate
Key features:
- Weight: 200g
- Color: Silver
- Compatible only with Moai
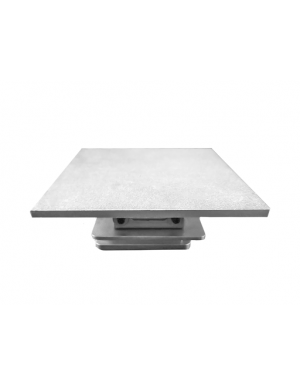
Easy-to-Level Build Plate for Moai Kit
TO USE: Simply loosen the 4 screws on the build plate, lower it to the vat and then tighten the screws up. It\'s as easy as that.